
By GTA6 Central editorial team · Gameplay · Medium · 6 min read · published on
Contents
Cover image: Rockstar Games (for illustration).
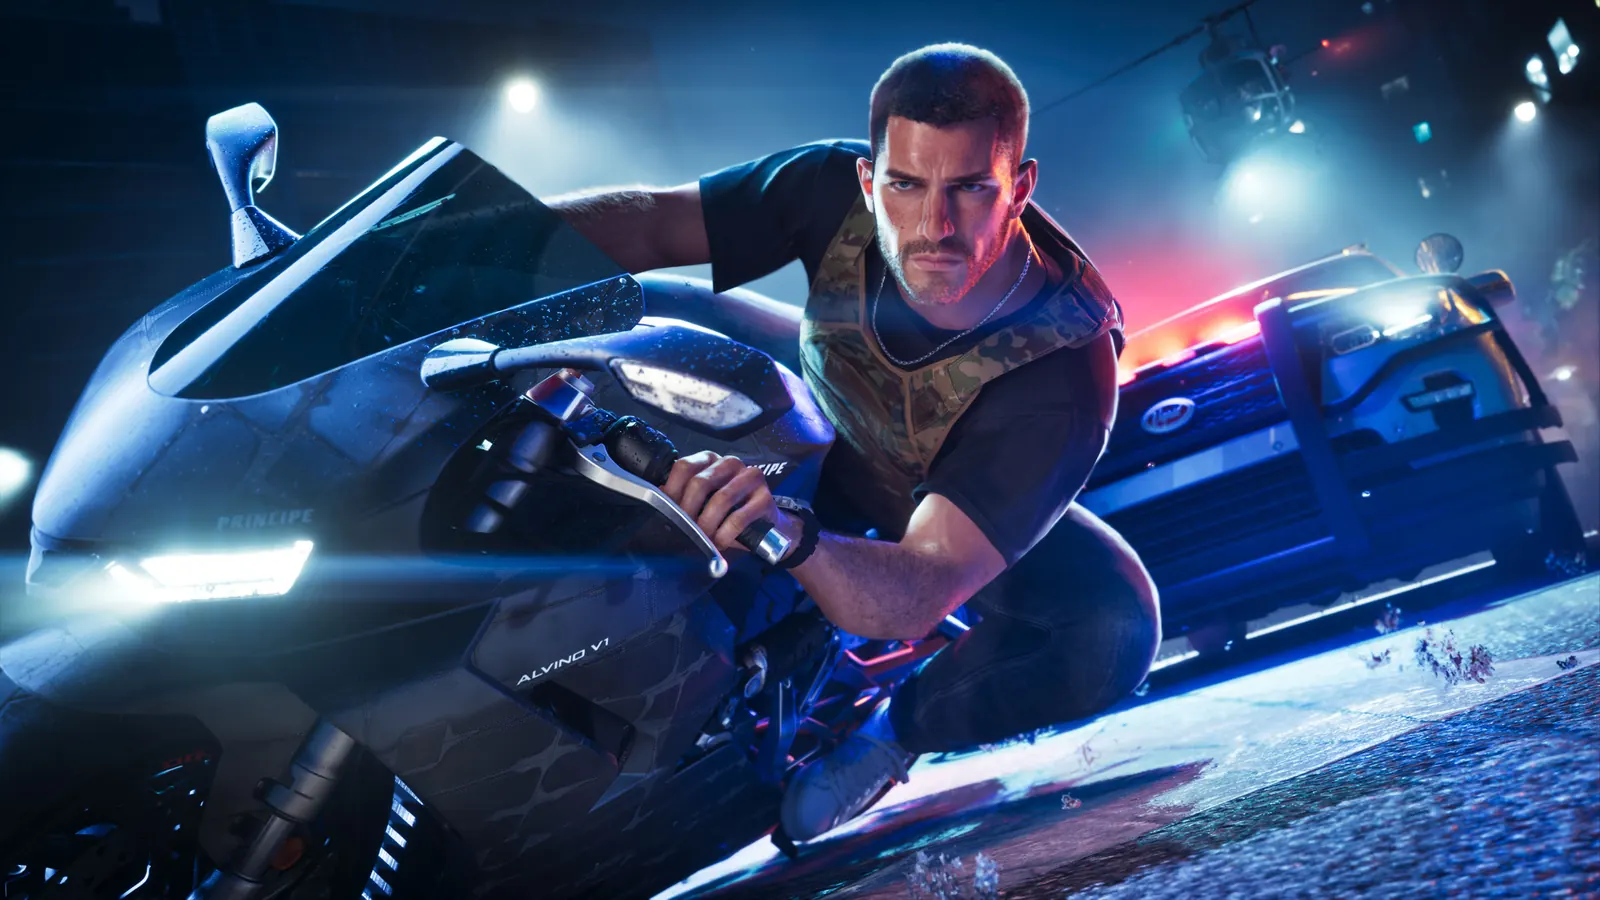
To lose the police in GTA 6, the best vehicle is a fast sports bike: it cuts through traffic and quickly leaves the search area. Next come a trackerless off-roader to leave the road, then any car without an advanced tracker, which you swap as soon as the chase is broken.
The ranking
- The fast sports bike. It weaves through traffic, which police cars struggle to follow, and its strong acceleration takes you out of the search area. It is the recommended way to flee a robbery, and the bank vaults that immediately trigger four stars.
- The trackerless off-roader. The BF Bandito '77 has no tracker and excels off-road: off-road handling of 7.6 and acceleration of 6.0, for $4,750 to register ($1,430 if you sell it stolen). On asphalt, however, its top speed (3.6) and handling (3.5) are weak: it is for leaving the road, not for racing up it. At four stars or more, with helicopters on your tail, follow the railroad tracks in south-west Vice City or north of Ambrosia: police cars rarely appear there, and shooting at the helicopters makes them give up.
- The easy car: unlocked, no special key. During a chase, an ordinary car is often better than a high-end model: breaking into a keyless or alarmed car costs time, and an advanced tracker keeps informing the police. A supercar with an advanced tracker is the trap of the fastest cars, described in the fast supercars guide: to flee, take a more modest car.
- Your personal car. Its trunk keeps spare outfits: the police remember your appearance as much as your vehicle. A stolen car, by contrast, is disposable: it is gone for good if destroyed, and the map only shows the last one you drove.
Choosing and stealing the right car, step by step
- Scan it with the WAiNK app: hold Up to open it, then R1 (RB) to scan. The scan gives the car's condition and its security (alarm, tracker).
- Try the handle: Triangle (Y). If it is locked, smash the window with Square (X): it is quick, but the alarm may go off.
- Start it by bringing both sticks together on the right spots until the semicircles are filled.
- Deal with the tracker. A standard tracker prevents you from modifying the car until it is registered. An advanced tracker transmits its position to the police unless you drive at high speed: keep your foot down until you have broken the chase.
- Check the tank. A stolen car does not always have a full tank: hold Left while driving to read its stats on screen, or scan it first. A car out of fuel can be pushed (left stick, then Square/X to shove harder); for your own, call Joey from your contacts.
Keyless cars do not start this way: you need the key cloner, which you receive automatically in chapter 3, at the start of the mission "Clonin' Keys, Makin' GS (Steal the Zorrusso for Randy)", around the middle of the chapter and the fortieth hour of play. Before that, leave them alone. See the key cloner guide. From chapter 2 you can also register a stolen car as a personal vehicle: how to call it or find it again.
During the chase
- Leave before they arrive. While the police are only "responding", fleeing fast can spare you any chase.
- Break line of sight. Leave their radius and stay hidden: the player arrow on the map changes color depending on whether you are hidden or spotted. In a stationary vehicle, hold Circle (B) to duck behind the wheel, even if you just jumped into a parked car.
- Shoot the tires, not the cops: killing cops hardens the response and pushes your criminal profile toward "Violent" (the criminal profile).
- Beware of dogs. Once K9 units are called in, keep moving: they track you relentlessly.
Finishing the job once the chase is broken
Breaking the chase is not enough: the police remember your appearance, outfit, vehicle and weapon, and watch the area around your last position, the "heat". The red icons under the stars tell you what they know.
- Vehicle recognized: get the car resprayed or change it. A Pay 'n' Spray station may refuse some vehicles, depending on the tracker installed; a respray makes the car unrecognizable and helps the heat fade (see workshops, Pay 'n' Spray and stations).
- Outfit recognized: change clothes, keeping a spare outfit in your personal car's trunk, or put on a bandana, glasses or a hat.
- Visible weapon: holster with L1 (LB); only sidearms can be concealed, a long gun must be dropped or stowed in the trunk.
- Partner recognized: splitting Jason and Lucia makes the pair harder to track.
Cops no longer appear on the minimap: Focus is what spots those nearby. The details of the system are in the wanted level and criminal profile guide, hot zones are explained in the icons and zones guide, and the vehicles in the database are in the vehicle database.
Pitfalls
- Slowing down in a vehicle with an advanced tracker.
- Breaking the chase but staying in the hot zone with the same car and the same outfit.
- Driving straight down the main road: the railroad is safer when helicopters follow you.
- Taking the Bandito '77 on the highway: it is slow and handles poorly on asphalt.
- Counting on a Pay 'n' Spray station with an overly watched vehicle: it may refuse.
- Starting a chase with an almost empty tank.
Frequently asked questions
What is the best vehicle to escape the police in GTA 6?
A fast sports bike: it cuts through traffic and accelerates out of the search area. Then swap vehicles to become unrecognizable.
Why avoid supercars when fleeing?
They often carry an advanced tracker that alerts the police as soon as you slow down. A car with a standard tracker or none is safer.
Sources and verification
Information from community reports, verified on 20 November 2026.
Comments(0)
Share your analysis and discoveries. Comments are moderated: stay respectful and avoid presenting rumors as facts.
Loading…