
By GTA6 Central editorial team · Getting started · Easy · 4 min read · published on
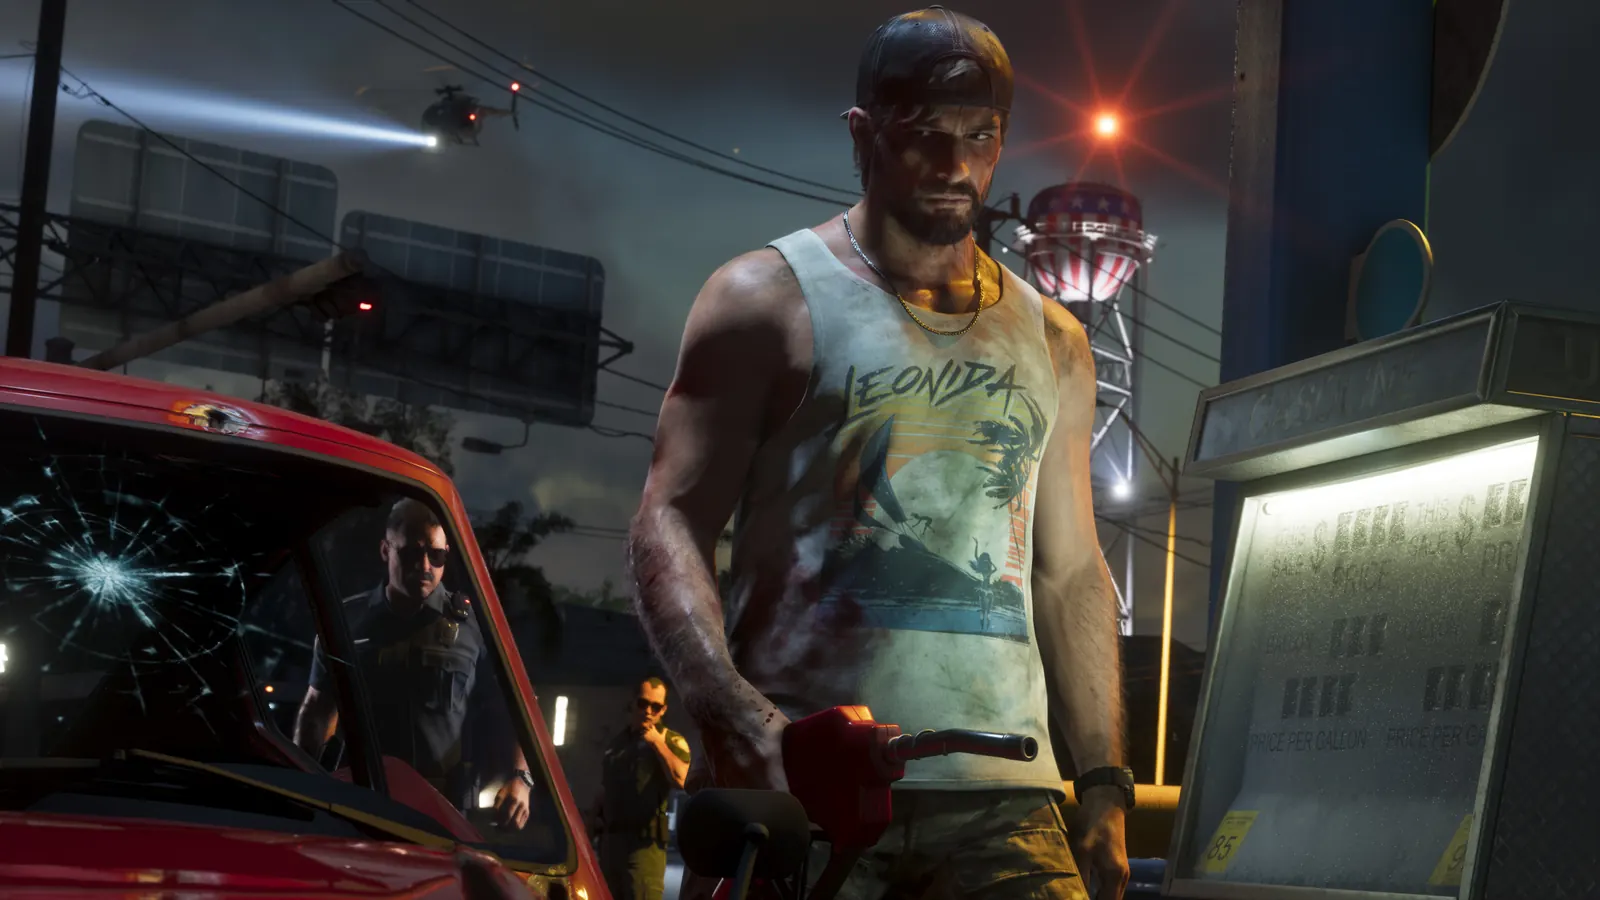
Cover image: Rockstar Games (for illustration).
To aim comfortably in GTA 6, keep "Partial" targeting with assist at 4, set look sensitivity to 8 horizontally and 7 vertically, and lower the stick dead zones to 2 on PS5. For a challenge, switch to "Free Aim", assist at 0 and "Shooting Assist" turned off. Last checked on November 21, 2026.
This guide only covers aiming. For picture, interface and audio, see the best settings on PS5 and Xbox Series; for the button layout, changing the control scheme.
Where the settings are
- Targeting mode and assists: pause menu, Settings, Gameplay tab, Combat section, the first one in the tab.
- Sensitivity and dead zones: Controller tab, reached with R1 on PS5 or RB on Xbox.
- Reticle: UI tab, "Reticle Shape" setting.
The three targeting modes
- Lock-On: the easiest. As soon as you aim (L2 or LT), the weapon locks onto a target near the reticle and follows it.
- Partial: the middle ground. Nothing locks on, but the reticle slows down when you move it over a target.
- Free Aim: no reticle assistance. Only "Shooting Assist", if left on, still briefly snaps to very close enemies.
Three profiles to copy
| Setting | Beginner | Balanced | Demanding |
|---|---|---|---|
| Targeting | Lock-On | Partial | Free Aim |
| Aim Assist Strength | 3 | 4 | 0 |
| Lock-On Time | 5 (max if moving targets get away) | — | — |
| Lock-On Target Switch | on | — | — |
| Shooting Assist | on | on | off |
| Drive-By Assist | on | on | off |
| Quick Draw | on | on | on |
- Lock-On Time decides how closely the assist sticks to a moving target: it is the setting that matters in Lock-On mode, far more than assist strength.
- Lock-On Target Switch moves the lock to the next target with a flick of the right stick left or right. Useful in a crowd.
- Drive-By Assist automatically aims at the closest target when you shoot while driving.
- Quick Draw draws your last equipped weapon by holding L2 (LT) then pressing R2 (RT). Keep it in every profile.
- To go further in demanding mode, set "Reticle Shape" to "None": no reticle on screen at all.
Sensitivity: a baseline to adjust
In the Controller tab, the recommended baseline is the same on PS5 and Xbox:
- Look ("Look Sensitivity"): 8 horizontally, 7 vertically.
- Aim ("Aim Sensitivity"): 5 both horizontally and vertically.
- Acceleration: 6 for look ("Look Acceleration"), 4 for aim ("Aim Acceleration").
- Aim response curve ("Aim Response Curve"): Standard.
Look and aim each have their own sensitivity and acceleration: this baseline keeps look quicker than aim.
Dead zone
On PS5, the recommended baseline is 2 for both the left and right stick ("Deadzone (Left Stick)" and "Deadzone (Right Stick)"). Both settings are in the Controller tab, among the DualSense controller options.
Pitfalls
- Tuning assist strength in Lock-On mode: since the target is locked, assist strength plays almost no role there. Adjust "Lock-On Time" instead.
- Thinking Free Aim turns everything off: unless you disable "Shooting Assist", the game still snaps to nearby enemies.
- Turning off Quick Draw: you then have to go through the weapon wheel every time.
- Looking for the dead zone of 2 on Xbox: that value is given for the PS5's DualSense controller.
Frequently asked questions
Which aim assist should you pick in GTA 6?
Partial with a strength of 4 suits most players. Lock-On, with Lock-On Time at 5, helps beginners. For a challenge, Free Aim with assist at 0 and Shooting Assist turned off.
Why does free aim still snap to enemies in GTA 6?
Because of Shooting Assist, a Gameplay tab option that stays on in Free Aim and briefly locks onto very close targets. Turn it off to get no assistance at all.
Sources and verification
Information from press previews, verified on 21 November 2026.
Comments(0)
Share your analysis and discoveries. Comments are moderated: stay respectful and avoid presenting rumors as facts.
Loading…